
Starting your morning with the perfect cup is the ultimate highlight for many people. However, hidden oils and hard water deposits often build up inside favorite brewing equipment. This grime can quickly turn delicious drinks into bitter disappointments.
An NSF study found that yeast and mold thrive in many home machines. Neglected appliances can lead toward health issues like sneezing or respiratory infections. Protecting your wellness and your investment is essential for every enthusiast.
Luckily, cleaning your device is easier than you might think. We will show you to restore performance using simple household items. Maintaining a clean coffee maker ensures every sip remains perfect.
This guide provides comprehensive instructions for deep descaling. You will learn alternative methods for keeping everything running smoothly. These steps make the process feel manageable rather than overwhelming for anyone.
By following our friendly advice, you can extend the life of your gear. Consistently delicious results are just few minutes away. You will transform your daily routine with these helpful tips.
Why Cleaning Your Coffee Maker Matters
You might think your coffee tastes off because of the beans, but the real culprit could be hiding inside your machine. Regular maintenance is more than just a chore; it is essential for your health and the longevity of your equipment.
Mineral Buildup and Hard Water Deposits
Most American homes use hard water for their morning brew. This hard water contains high levels of magnesium, calcium, and limestone. Over time, these elements create tough mineral deposits inside your drip coffee maker.
This heavy mineral buildup creates blockages in the water reservoir and internal tubes. If you ignore this buildup, your brewer will work harder and eventually break down.
Bacteria, Mold, and Yeast Growth
The warm and moist environment inside a maker is the perfect place for germs. An NSF study found that half of households had yeast and mold growing in their coffee makers. These organisms thrive in the dark corners of your reservoir and filter basket.
Using a dirty machine can lead to more than just bad smells. It can cause allergy symptoms like coughing and headaches. In some cases, it leads to gastrointestinal issues or respiratory infections.
Impact on Coffee Taste and Quality
When residues stay in the maker, they turn rancid and bitter. To enjoy a clean coffee experience, you must remove these old oils and minerals. Every cup should reflect the true flavor of your quality beans.
Using filtered water is a great start, but it won’t stop all residue. Each cup of coffee tastes significantly better when the brewing path is pristine. Strong cleaning habits ensure your morning routine stays delicious and safe.
| Factor | Clean Machine | Dirty Machine |
|---|---|---|
| Flavor Profile | Pure and Bold | Bitter and Stale |
| Brewing Speed | Fast Efficiency | Slow and Clogged |
| Health Risk | Safe and Healthy | Mold and Bacteria |
| Equipment Life | Long-lasting | Frequent Repairs |
How Often Should You Clean Your Coffee Maker
Knowing the right time to scrub your machine can save you from bitter cups and costly repairs. A consistent schedule for your coffee maker prevents mineral buildup and ensures every sip tastes as fresh as the first one of the day.
Daily Cleaning Routine
Ideally, you should wash your coffee maker after each use to remove oils and residues. Use warm water and soapy water to rinse the carafe and all removable parts thoroughly.
Many of these parts are even safe for the dishwasher, making your evening cleanup quick and easy. This simple habit keeps your equipment ready for the next morning.
Monthly Deep Cleaning
For a more thorough cleaning, specialty-coffee professional Ever Meister suggests a biannual deep clean at a minimum. However, if you drink lots of coffee, a monthly or quarterly deep clean is much more appropriate.
Regularly descaling your maker removes internal calcium deposits that affect heating efficiency. This ensures your water reaches the perfect temperature for extraction every single brew.
| Frequency | Task | Benefit |
|---|---|---|
| After Each Use | Rinse the maker basket | Prevents old oil buildup |
| Every Month | Deep cleaning cycle | Removes mineral scale |
| Quarterly | Inspect internal components | Extends coffee machine life |
Signs It’s Time for Immediate Cleaning
Watch for a white film on any equipment, as this is a clear sign you need to descale. Some manufacturers suggest a deep session after using a full pack of 100 filter units.
If your coffee maker starts to taste bitter or the brewing process slows down, don’t wait. Addressing these signs immediately keeps your equipment running smoothly for a long time.
What You’ll Need to Clean Your Coffee Maker
To get that machine sparkling like new, you only need a few basic household ingredients. Most items are likely sitting in your kitchen right now. White vinegar is the star tool because its natural acidity breaks down mineral buildup and eliminates odors.
You also need plenty of fresh water to rinse away any vinegar scent. Use hot water and a dish soap solution to scrub the carafe carefully. This process removes mold and yeast growth. Finally, using a soft sponge and a dry towel ensures everything looks brand new again without any scratches.
Check your cabinets for these items before you begin:
- Distilled vinegar for descaling
- Fresh filtered water for rinsing
- Mild liquid soap for the carafe
- Non-abrasive sponge for scrubbing
- Microfiber towel for drying
| Cleaning Supply | Primary Function | Where to Find It |
|---|---|---|
| Vinegar | Dissolves calcium and minerals | Pantry or Kitchen Cabinet |
| Hot Water | Rinses residue and cleans parts | Kitchen Faucet |
| Soft Sponge | Scrubs without damaging surfaces | Under the Sink |
How to Clean a Coffee Maker with Vinegar: Step-by-Step
If you want to restore that fresh coffee taste, a simple deep clean with vinegar is your best friend. This natural method effectively removes mineral deposits and bacteria without using harsh chemicals.
Step 1: Empty the Carafe and Grounds
First, make sure your carafe is completely empty and rinsed. Dump out any old coffee grounds left in the filter basket to prepare for the cleaning process.
Step 2: Prepare Your Cleaning Solution
You need to create a potent cleaning solution using basic pantry staples. Measure out equal parts of white vinegar and water to ensure the mixture is strong enough to sanitize the internal tubes.
Step 3: Pour Solution into the Water Chamber
Pour this vinegar water directly into the water reservoir. Fill the reservoir to its full capacity so every internal part gets a thorough soaking.
Step 4: Run a Half Brew Cycle
Start a normal brew cycle as if you were making a fresh pot. When the maker reaches the half way point, turn it off immediately.
Step 5: Let the Solution Sit
Let the solution sit inside the coffee maker for about 60 minutes. This time allows the acidic properties of the vinegar to break down stubborn calcium and lime buildup.
Step 6: Complete the Brew Cycle
After the hour has passed, turn the maker back on to complete the brew. This pushes the remaining vinegar through the system to finish the disinfection.
| Step Phase | Main Action | Duration |
|---|---|---|
| Preparation | Mix Vinegar and Water | 2 Minutes |
| Soaking | Pause the Brew | 60 Minutes |
| Rinsing | Fresh Water Flushes | 15 Minutes |
Step 7: Rinse with Fresh Water Cycles
To remove the smell, you must run brew cycles using only fresh water. Repeat this cycle three times to ensure no solution remains in your future drinks.
Step 8: Clean and Reassemble All Parts
To finally clean coffee maker surfaces, wipe the exterior with a damp cloth. Wash the carafe and basket in soapy water to remove any final coffee grounds before you brew your next delicious cup.
Alternative Natural Cleaning Methods
While vinegar is a popular choice, it is not your only option for a fresh brew. Many common kitchen items offer great ways to keep your machine sparkling. These natural methods are safe, effective, and often use items already in your pantry. Choosing a different solution can help you target specific issues like stains or smells.
Baking Soda Scrub for Stubborn Stains
If your coffee pot has dark brown rings, baking soda is a fantastic tool. Simply add a few tablespoons of baking soda directly into the pot. Use a soft sponge or brush to scrub away the buildup on the bottom and sides. This gentle baking agent removes tough stains without scratching glass or metal surfaces.
Lemon Juice and Water Solution
A lemon juice and water mix uses natural acidity to break down mineral deposits. Combine half a cup of juice with water in the reservoir and run a brew cycle. This method leaves a fresh scent and removes old odors. Follow this with a cycle of fresh water to rinse away any remaining citrus residue.
Hydrogen Peroxide for Disinfection
For a deep clean that kills bacteria, try using hydrogen peroxide. Mix one part peroxide with two parts water and pour it into the machine. Run a full brew cycle to disinfect the carafe and the internal tubes. This is a powerful way to ensure your morning cup is as healthy as possible.
Salt and Ice for Glass Carafes
For glass brewers like a Chemex, use salt and ice for a quick scrub. Put a few tablespoons of coarse salt and several ice cubes into the glass. Swirl the mixture around for a few minutes to lift coffee oils. The abrasive action works quickly and naturally without the need for harsh chemicals.
| Method | Best For | Key Benefit |
|---|---|---|
| Baking Soda | Coffee pot stains | Gentle scrubbing |
| Lemon Juice | Mineral deposits | Fresh citrus scent |
| Hydrogen Peroxide | Bacteria removal | Deep disinfection |
| Salt and Ice | Glass cleaning | Chemical-free action |
How to Clean Different Types of Coffee Makers
Beyond the traditional drip coffee maker, various manual brewers have specific needs to stay fresh and functional. Each maker requires a slightly different touch to ensure your morning cup remains pure and delicious.
While these manual tools lack a large reservoir, their internal surfaces still catch minerals and oils. Knowing the right method for your coffee maker helps preserve its lifespan and flavor.
Cleaning a French Press
Wait until the carafe is cool before you start cleaning. Remove the plunger and fill the glass with warm water to loosen the leftover grounds.
Use a bottle brush and mild dish soap or baking soda to scrub the inside of the maker thoroughly. Always rinse the mesh filter and plunger assembly to remove trapped oils and debris.
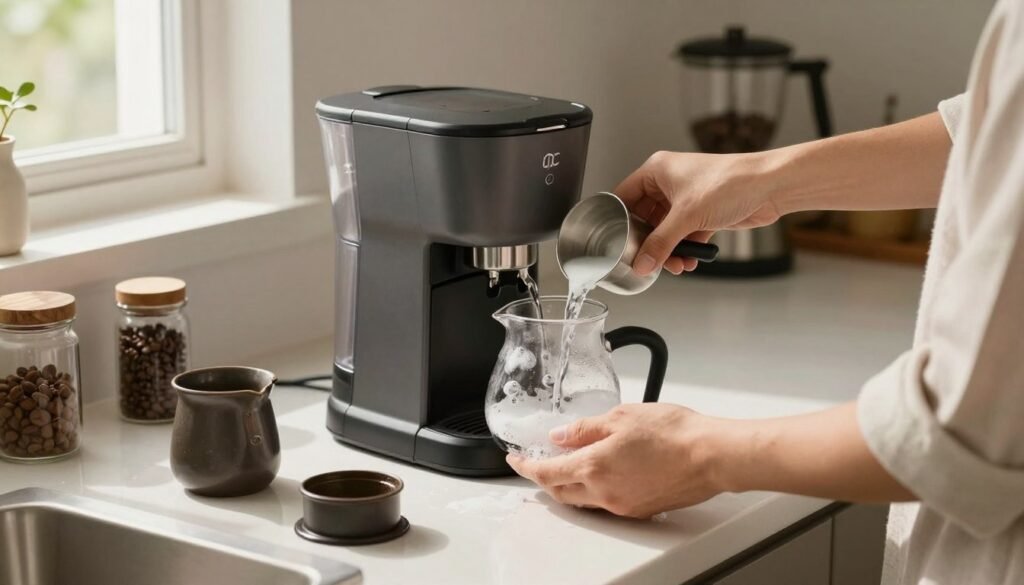
Cleaning an AeroPress Coffee Maker
For daily care, rinse all parts in hot tap water after every brewing session. Pay close attention to the vacuum seal to prevent oily buildup that ruins coffee quality.
For deeper cleaning, soak the parts in water and soap for a few minutes. Use your fingers to scrub the surfaces gently, and use a splash of vinegar for stubborn mineral spots. You can also place the components in the dishwasher once a month.
Cleaning a Pour Over Coffee Maker
Daily maintenance involves swishing soapy water inside the carafe to remove residue. These brewers are typically much simpler to maintain than a standard drip coffee machine.
Soak the glass in equal parts water and vinegar for several hours periodically to remove stains. Finally, use a soft brush to reach the bottom, rinse with fresh liquid, and prepare for your next brewing cycle.
| Brewing Type | Daily Cleaning Task | Deep Cleaning Method | Dishwasher Safe? |
|---|---|---|---|
| French Press | Rinse grounds and mesh | Scrub with baking soda | Varies by model |
| AeroPress | Hot water rinse | Vinegar soak and scrub | Yes (Top rack) |
| Pour Over | Swish soapy water | Vinegar and water soak | Yes (Glass only) |
| Drip Coffee | Wash carafe and basket | Run a full vinegar cycle | Removable parts only |
Dealing with Hard Water and Mineral Deposits
Your coffee machine might struggle to perform if hard water minerals like calcium and magnesium clog the internal tubes. This common issue happens when tap water contains high levels of limestone.
Over time, this mineral buildup creates blockages that slow down the brewing process. You may notice a white film on your carafe or a bitter taste in your morning coffee.
When you see these signs, it is time for descaling. Many experts suggest a deep clean with vinegar after using about 100 filters to remove the buildup.
Using filtered water can help reduce the frequency of mineral deposits. This simple step protects your machine and keeps your coffee tasting fresh and delicious.
| Sign of Buildup | Impact on Machine | Recommended Action |
|---|---|---|
| White Residue | Visible limestone film | Clean with vinegar |
| Slow Brewing | Internal tube blockage | Descale the unit |
| Bitter Flavor | Poor extraction quality | Use filtered water |
Common Mistakes to Avoid When Cleaning Your Coffee Maker
Avoiding pitfalls during the cleaning process will keep your coffee tasting fresh and delicious. One major error is not rinsing the machine enough after using vinegar. You should run a full brew cycle to remove strong scents. This ensures your next cup of coffee tastes perfect every time.
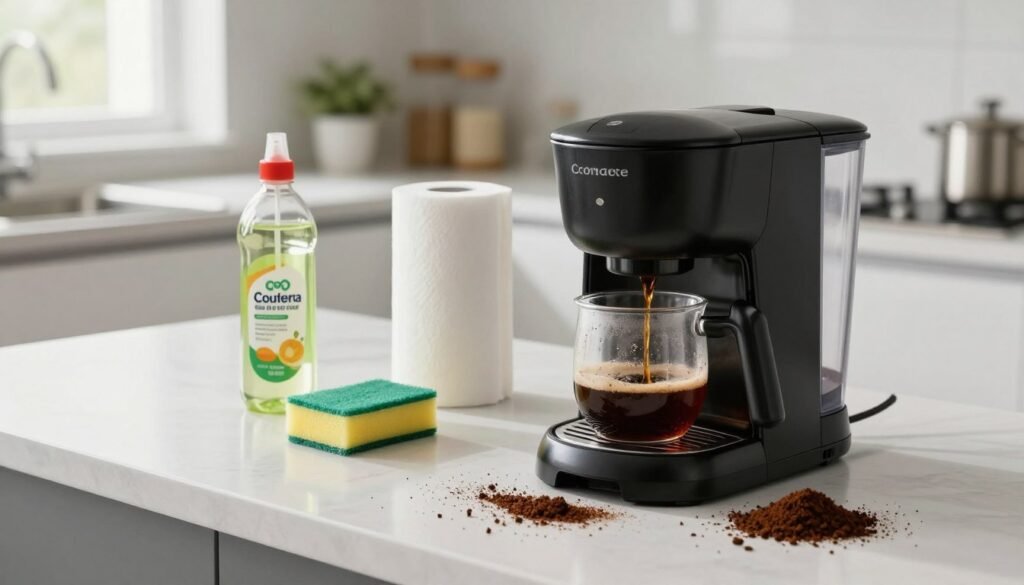
Always allow your coffee maker to cool before you start. Pouring cold water into a hot glass carafe can cause thermal shock. Remember to empty the reservoir and leave the lid open to air dry. This way, you prevent mold growth from ruining your clean coffee routine. Prevention is always easier than scrubbing heavy deposits later!
Never use harsh chemicals or abrasive scrubbers on your maker. Thorough cleaning is simple when you avoid reassembling the coffee maker while parts are still wet. Keep these points in mind:
- Never use bleach or industrial cleaners.
- Let all components air dry completely.
- Run a final fresh water cycle to be safe.
Avoiding these common errors will extend the life of your maker and improve every morning brew.
| Common Mistake | Potential Result | Recommended Action |
|---|---|---|
| Skipping the rinse | Lingering sour or vinegary taste | Run 2-3 fresh water cycles |
| Cleaning while hot | Thermal shock or cracked glass | Let the machine cool down first |
| Closing the lid early | Mold and bacteria growth | Leave the reservoir lid open to dry |
| Using harsh soaps | Damaged internal components | Use natural solutions like lemon |
Conclusion
Establishing a clean coffee maker routine is the best way to protect your investment in premium beans. When you handle cleaning at home, you ensure that every cup tastes fresh and vibrant. You can enjoy the true flavors of coffee simply by maintaining your coffee maker properly.
A clean coffee maker consistently produces a superior brew by removing bitter mineral residues. Since high-quality coffee deserves a great maker, regular maintenance is essential. We hope these tips help you get the most out of your brewing ritual with your favorite maker.
Thank you for your commitment to great coffee. Now, go ahead and prepare a delicious drink with your well-maintained maker and feel confident in every sip! Use the table below to stay on track with your maintenance schedule.
| Maintenance Task | Frequency | Primary Benefit |
|---|---|---|
| Daily Rinse | Every Use | Removes fresh oils |
| Vinegar Descale | Monthly | Eliminates mineral buildup |
| Deep Scrub | Weekly | Ensures better tasting coffee |